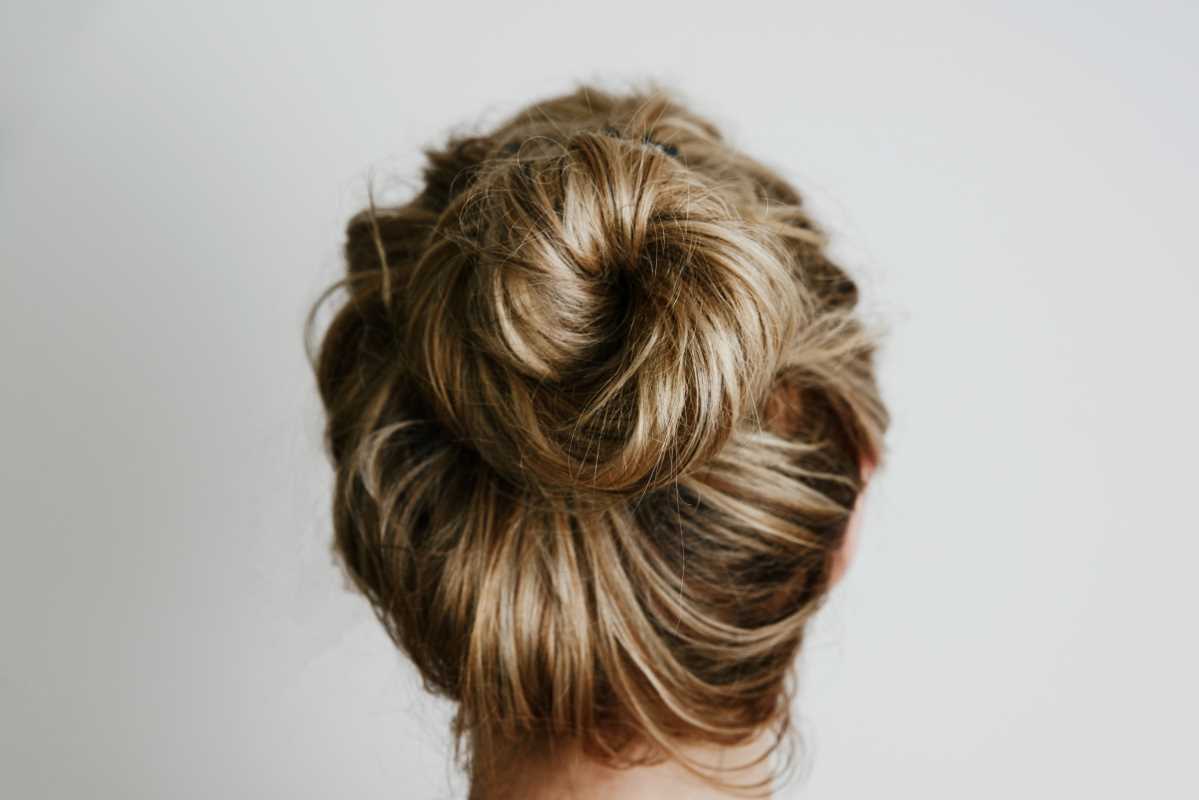
Ah, the messy bun. It’s the hairstyle that says, “I just woke up like this,” while secretly looking chic and perfectly imperfect. Whether you’re running late, lounging at home, or heading out for brunch with friends, the messy bun has become a go-to style for fashionistas everywhere. But if you’ve ever tried to nail this look only to end up with a lopsided bird’s nest on your head, you already know that creating an “effortless” messy bun takes some actual effort.
The good news? Once you’ve mastered a few key techniques, achieving that dreamy, Instagram-worthy messy bun is totally doable. From prep work to finishing touches, this guide will show you how to perfect the art of the messy bun and make it your signature style in no time.
Start with the Right Hair Prep
The secret to a flawless messy bun starts with the foundation. Contrary to popular belief, the state of your hair (clean, dirty, textured, etc.) plays a huge role in how your bun will look.
Day-Old Hair Is Your Best Friend
Messy buns have more grip and hold when your hair isn’t freshly washed. Clean hair can be slippery and harder to work with, while slightly dirty hair adds texture that helps the style hold its shape better.
- Too Clean? If you’ve just washed your hair, use a texturizing spray or dry shampoo to fake that second-day feel.
- Pro Tip: Dry shampoo is also great for adding volume to your roots, which is a must for a fuller-looking bun.
Add Texture Before You Style
Even if you already have thick or wavy hair, adding a bit of texture will give your bun more personality. If your hair is naturally silky or fine, this step is a game-changer.
- Tools of the Trade: Use a curling wand or a flat iron to create loose waves before putting your hair up.
- Alternative: No heat? No problem. Spritz your strands with a salt spray or texturizing mousse and scrunch them for that lived-in look.
The Basic Messy Bun Tutorial
Now that your hair is prepped, it’s time to put it all together. The messy bun may look like it took zero effort, but there’s a method to the madness. Trust us, once you follow these steps, you’ll never look back.
Step 1: Gather Your Hair
Start by gathering all of your hair into your hands as if you’re making a ponytail. Decide where you want your messy bun to sit (high on top of your head, low near the nape of your neck, or somewhere in between).
- High Bun Tip: Tilt your head upside down while gathering your hair for added volume.
- Low Bun Tip: Keep your head upright and gently pull the hair back for a sleek start.
Step 2: Create the Bun
Once your hair is in position, twist it softly. Wrap the twist around itself to form a loose bun and secure it with an elastic.
- Important: Don’t wrap the elastic too tight. A slightly loose hold ensures your bun looks relaxed, not stiff.
- Shortcut: If you’re struggling, try the “loop” method. On your last loop with the elastic, stop halfway to create a messy bun in one go.
Step 3: Pull and Tug
After securing the bun, gently tug at sections to loosen it up. Pull at random pieces to create volume and texture. Don’t overthink it; the imperfections are what make it look cool and effortless.
- Pro Tip: Pull a few face-framing strands loose for an undone but elegant vibe.
Step 4: Secure the Flyaways
Use bobby pins to tuck in any sections that feel too wild. If you’re going for a super casual look, skip this step and embrace the flyaways.
- Finishing Touch: Spritz hairspray lightly to keep everything in place without losing that carefree feel.
Variations on the Messy Bun
Once you’ve mastered the basic messy bun, you can start experimenting with different styles to fit your mood or the occasion.
The Half-Up Messy Bun
For a playful, laid-back look, try leaving half of your hair down and pulling only the top section into a messy bun.
- How-To: Create a half-pony at the crown of your head and twist it into a bun. Leave the rest of your hair flowing for a casual yet polished vibe.
- Perfect For: Lazy weekends, casual hangouts, or when you want to show off your hair length.
The Twisted Messy Bun
Add a touch of elegance by incorporating twists into your messy bun.
- How-To: Divide your hair into two or three sections, twist each one loosely, and combine them into a bun. This creates gorgeous detail without much effort.
- Perfect For: Date nights, holiday parties, or any event where you want to look effortlessly put-together.
The Braided Messy Bun
If you want to up the drama, add a braid to the mix.
- How-To: Start by braiding a small section of hair (try a side braid or a French braid down the back). Incorporate the braid into your bun for a stylized twist on the classic.
- Perfect For: Festivals, weddings, or when you need a creative hair moment.
Common Messy Bun Challenges and How to Fix Them
The messy bun may seem foolproof, but sometimes it just doesn’t cooperate. Here’s how to troubleshoot common issues.
Problem #1: The Bun Falls Flat
If your messy bun looks more “meh” than “wow,” it’s probably lacking volume.
- The Fix: Backcomb your hair before gathering it into a ponytail, or use a donut hair sponge underneath the bun to create fullness.
Problem #2: Loose Pieces Keep Escaping
While messy buns are meant to look casual, random pieces falling out can make it look sloppy instead of stylish.
- The Fix: Double up on bobby pins for better hold, or use a styling paste to smooth down problem areas.
Problem #3: It Looks Too Perfect
A messy bun that’s too perfect misses the whole point.
- The Fix: Take out your comb and use your fingers to rough it up a bit. Gently tug at the bun and loosen the strands for a more relaxed look.
Tools and Products That Make All the Difference
Sometimes, the right tools are all you need to take your messy bun from average to amazing.
Essentials for Every Messy Bun
- Texturizing Spray: Adds grip and volume, making your hair easier to style.
- Elastic Bands: Choose ouchless bands to avoid breakage.
- Bobby Pins: Keep a stash handy to secure loose ends.
- Dry Shampoo: Perfect for adding texture and soaking up oil on second- or third-day hair.
- Hair Spray: A light-hold spray locks in the look without making it stiff.
Bonus Tools
- Donut Sponge: Great for achieving a fuller bun.
- Teasing Comb: Adds volume to fine or flat hair.
- Boar Bristle Brush: Ideal for smoothing flyaways while keeping a soft texture.
The messy bun is more than just a lazy-day hairstyle; it’s a versatile, stylish option that works for practically any setting. Whether you’re going casual or dressing it up for a night out, this look is always in style. Now that you know how to perfect it, get ready to rock the effortlessly messy bun like the pro you are!